Sketch to Image AI
Photograph a rough pencil or marker sketch and describe how it should look when finished. Sketch to image AI follows your lines and proportions, then adds the materials, color and light.
Add a photo or scan of your sketch
No subscription·Failed runs refund credits
Sign in to get free credits every day and keep your creations.
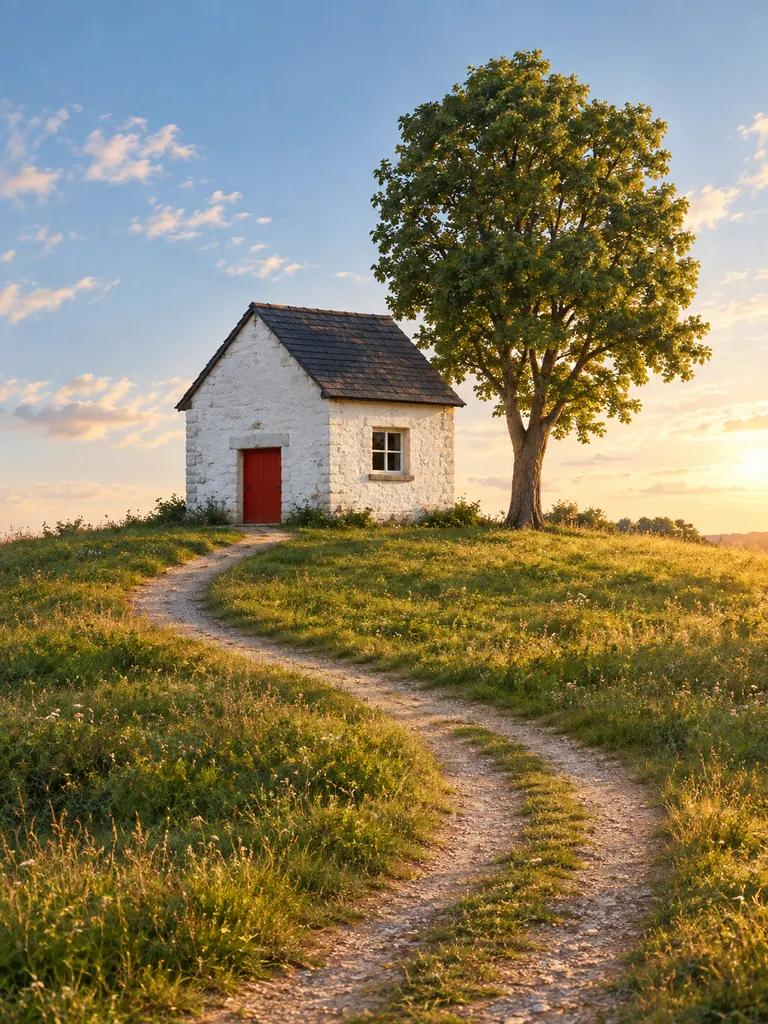
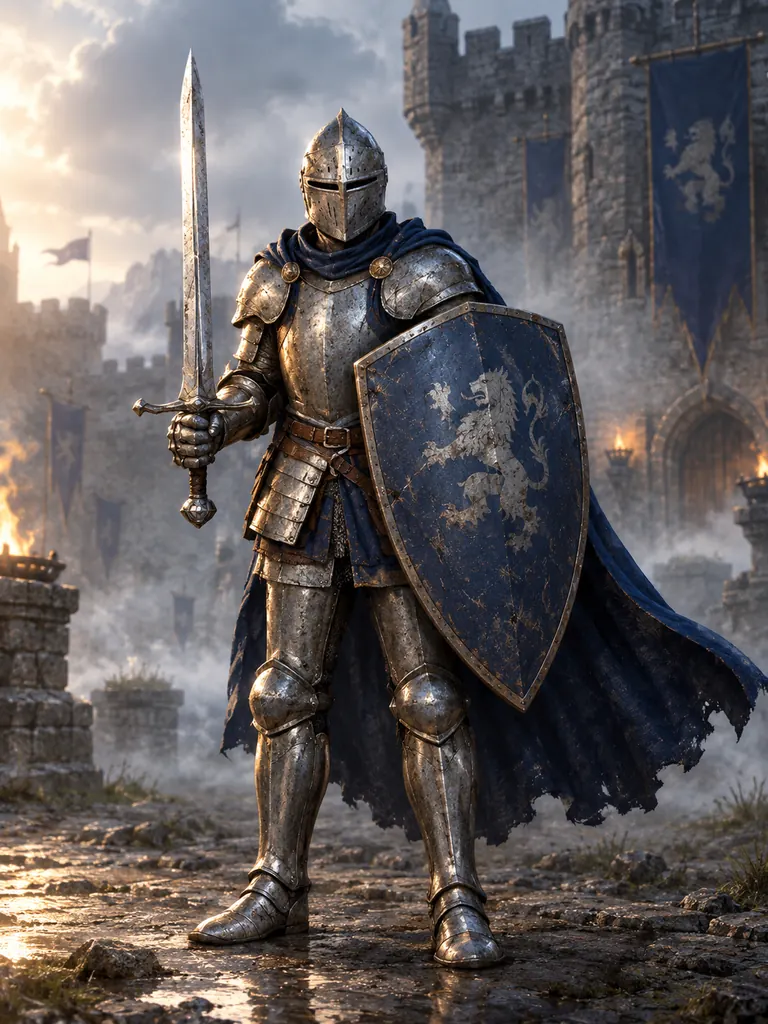
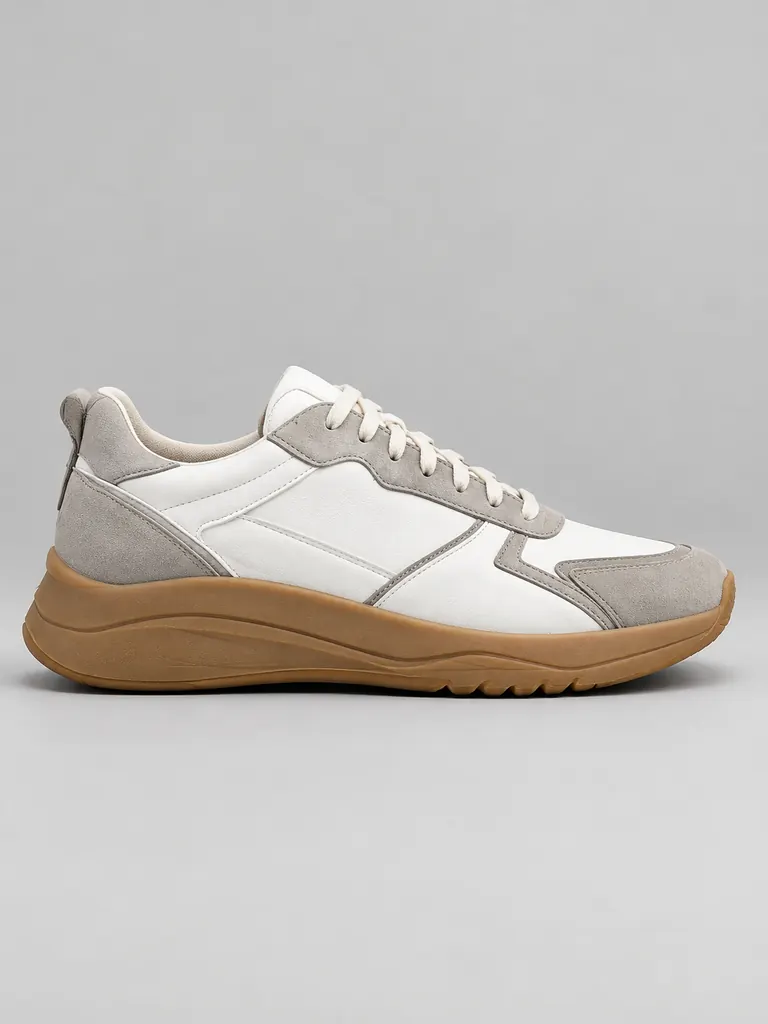
Drawings finished by sketch to image AI
Each result started as a quick sketch on paper, photographed with a phone. Tap “Use this prompt”, add your own sketch and run it.
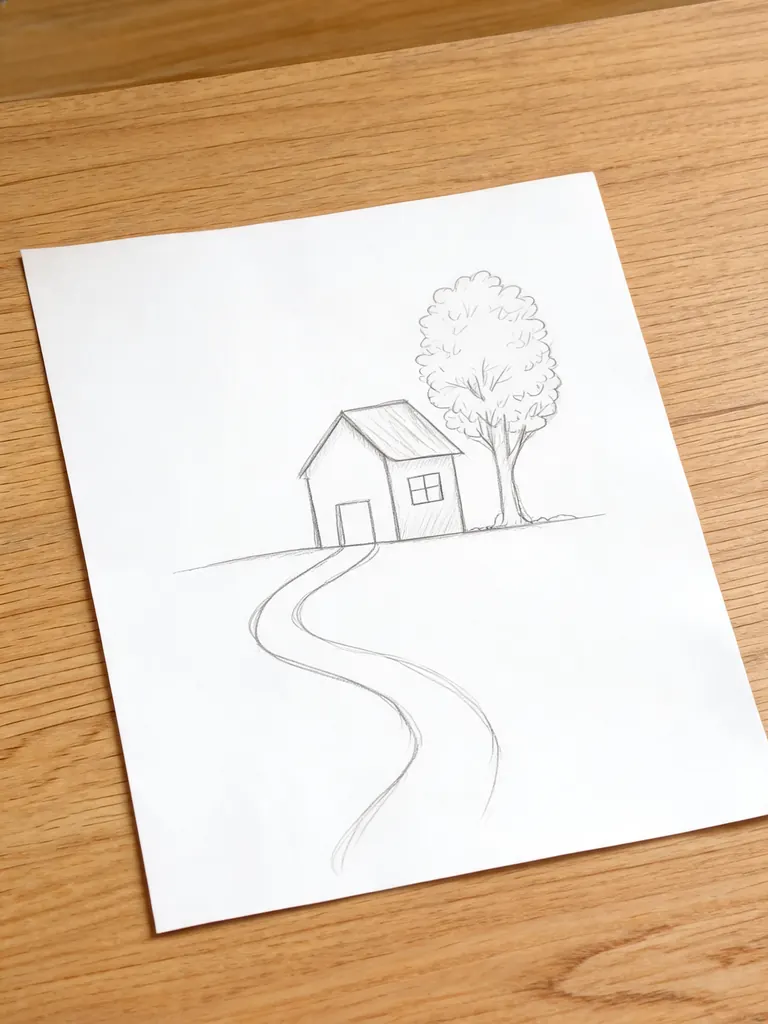
Before After House to photo“Turn this pencil sketch into a realistic photo of the same small house and tree: whitewashed stone walls, a dark slate roof, a red front door, a leafy oak tree and late afternoon sun. Keep the shape of the house, the windows and the tree where they are in the sketch.”
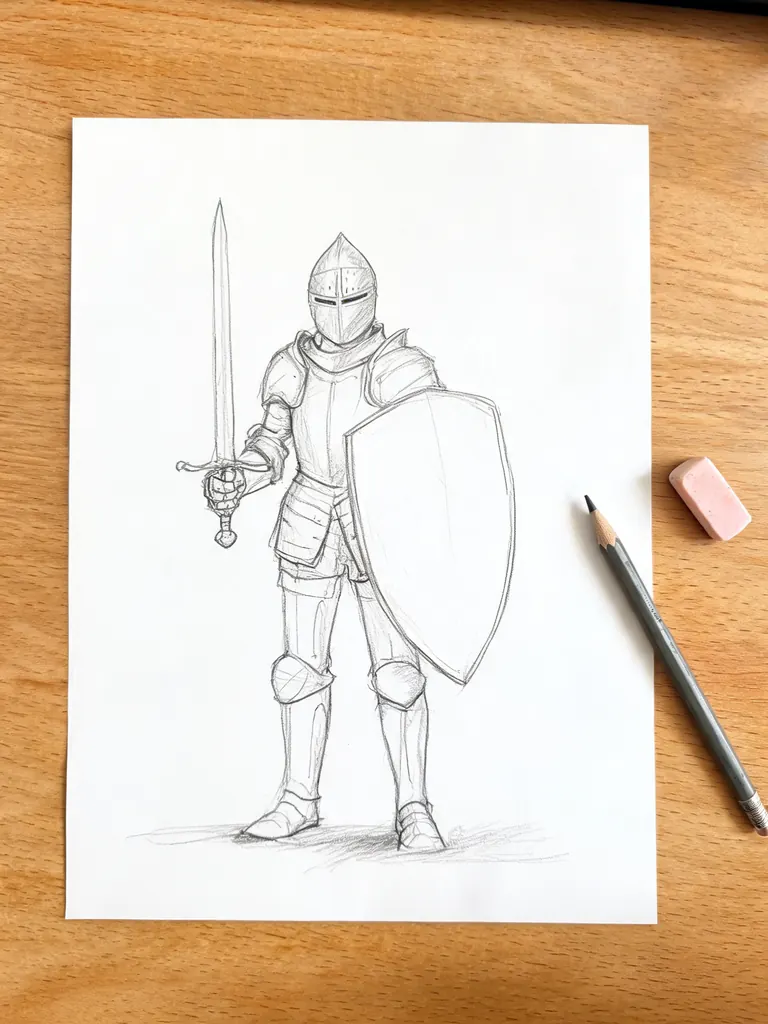
Before After Character concept art“Finish this rough knight sketch as full-color fantasy concept art: worn steel plate armor, a dark blue cloak, the sword and shield from the sketch, dramatic side light and a misty castle courtyard behind. Keep the pose and proportions from my sketch.”
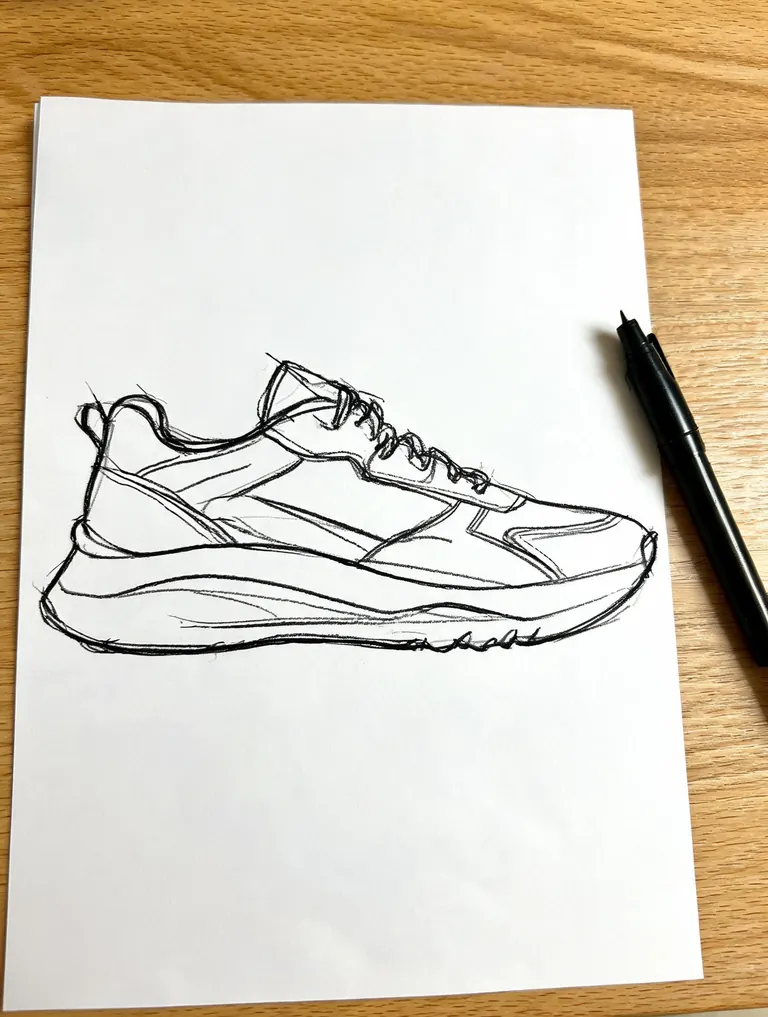
Before After Product render“Render this marker sketch as a realistic product photo of the sneaker: white leather upper, gray suede panels, a gum rubber sole and soft studio light on a plain light gray background. Follow the shape and panel lines of the sketch, with no logos.”
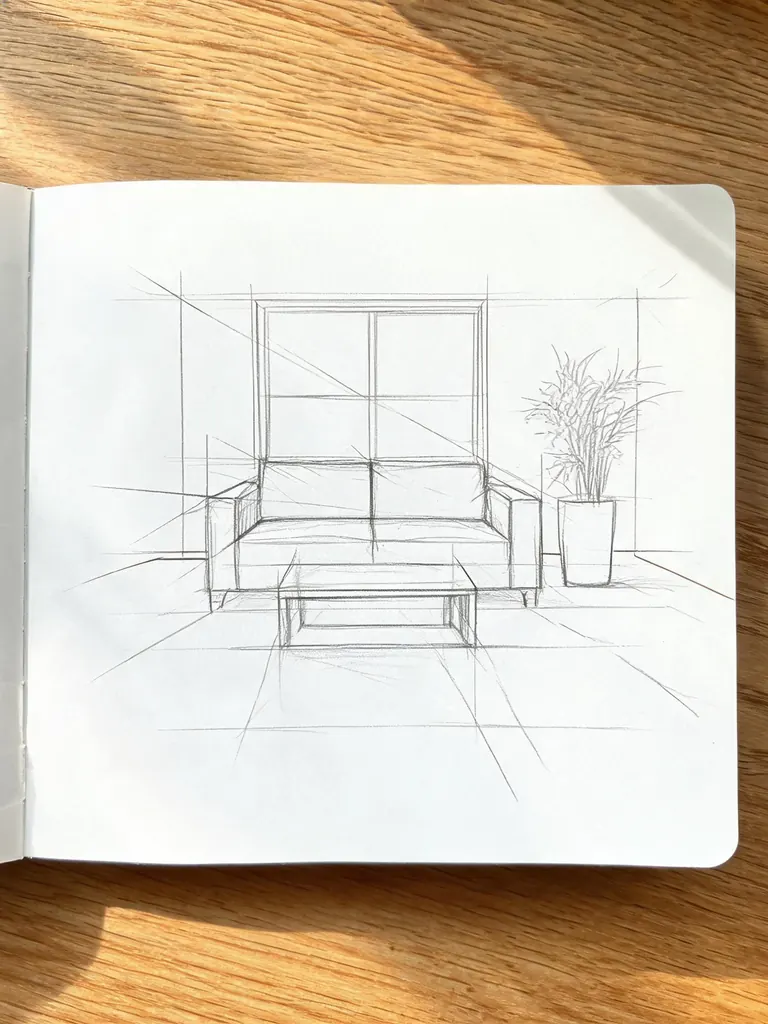
Before 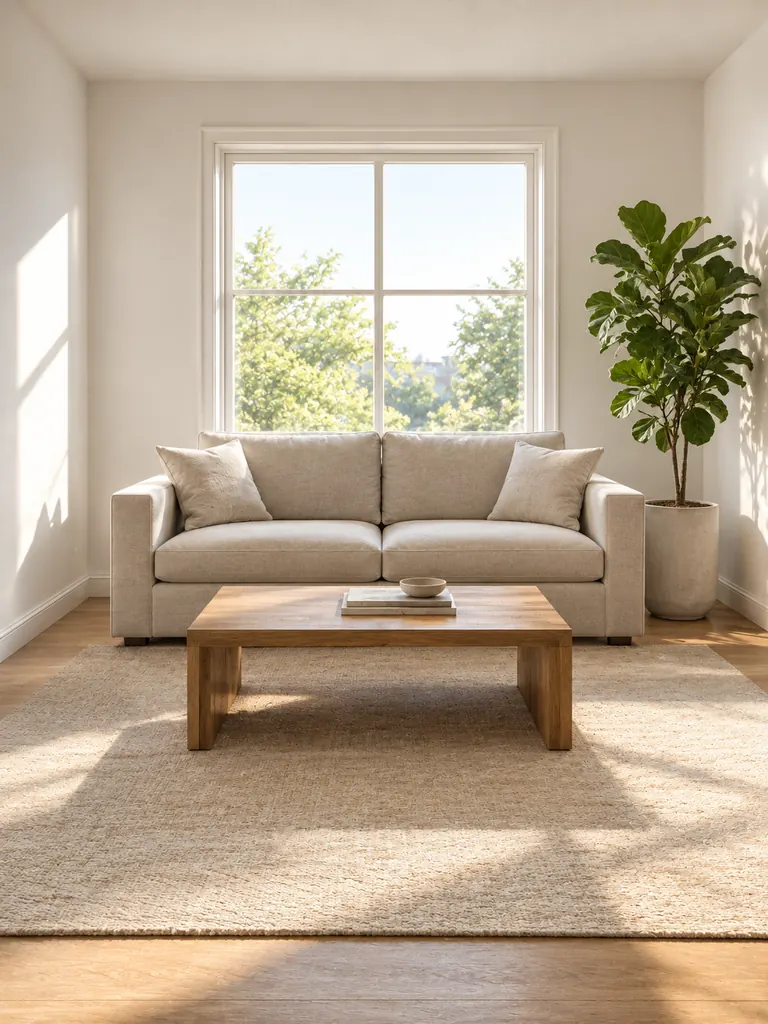
After Interior visualization“Turn this pencil sketch into a realistic photo of the living room: a linen sofa, an oak coffee table, a tall fiddle-leaf fig by the window, white walls and soft morning light. Keep the layout, the window and the furniture positions from the sketch.”
What sketch to image AI can finish
Your sketch sets the layout, the shapes and the proportions. The prompt sets everything the sketch can’t show: materials, color, light and how real it should look.
- Buildings and rooms. Go from sketch to render in one step. Architects, renovators and homeowners turn quick perspectives into realistic visuals to test materials and light before anything is built.Name each material: “oak floor”, “white plaster” · Give the time of day for the light · Say “keep the layout from the sketch”
- Characters and creatures. From sketch to concept art: a rough pose or a doodle becomes a finished character for a game, a comic or a tabletop campaign. Your pose and costume ideas stay; the model fills in anatomy and detail.Describe armor, fabric and colors · Add a setting and a light direction · Choose a painterly or a realistic finish
- Products and objects. Take a marker concept from sketch to product shot you can show a client or a maker. Furniture, shoes, packaging and jewelry all work.List the material for each part · Ask for a plain studio background · Say “no logos” to avoid made-up branding
How to use sketch to image AI
- 1Photograph your sketch
Lay the paper flat in daylight and shoot from straight above, or upload a scan or a tablet sketch. Tap the + tile, drag the image in or paste it.
- 2Describe the finished result
Say what it is and how it should look: materials, colors, light and the finish (realistic photo, illustration or product render).
- 3Say how strictly to follow it
“Follow my lines exactly” keeps your design; “use the sketch as a loose guide” lets the model fix proportions. Nano Banana 2.1 is selected by default, and GPT Image 2.5 follows long notes like these closely.
- 4Generate and compare
Most images are ready within a few minutes (free accounts wait a little longer on premium models). Compare the result with your sketch and download it at full size with no watermark.
Tips for turning sketches into finished images
- 01
Darken the lines that matter
Faint construction lines can be read as real edges. Go over the final outline with a darker pencil or a marker before you take the photo.
- 02
Label what isn’t obvious
A circle could be a window or a clock. Say it in the prompt: “the circle on the left wall is a round mirror”.
- 03
Crop out the desk
Crop the photo to the edges of the paper so the model doesn’t turn your pen, desk or fingers into part of the scene.
- 04
Add a style reference
Upload a photo of a material or a room you like as a second image, and say which image is the sketch and which is the style. The default model takes 10 reference images, GPT Image 2.5 16.
Sketch to image AI for people who think with a pencil
A sketch holds the idea: the layout of a room, the outline of a shoe, the pose of a character. What it lacks is color, material and light, and that is the part sketch to image AI adds. The model reads your lines as the structure of the picture and builds on them, so the finished image keeps your design instead of swapping it for a generic one. One prompt takes you from sketch to photo, painting or 3D render.
It works for architects testing a façade, designers showing a client three colorways, writers who want to see their hero, and anyone curious how a doodle would look as a real object. Our newest model is the default here. GPT Image 2.5 follows long instructions and keeps lettering on labels and signs readable, and Nano Banana 2 and Seedream 5 are good alternatives for rich color.
Google sign-ins get free credits, then more each day. The default model costs 2 credits at 1K, 3 at 2K and 4 at 4K, and the exact cost shows before you generate.
Your sketches are used only to make your image and stay private in My Images. You may use the results in personal and commercial work.
Sketch to image AI FAQ
Is there a sketch to image AI free option?
- Yes. FLUX.2 turns one sketch into an image at no credit cost with no sign-in, and it is unlimited for normal use (a daily fair-use limit only stops automated abuse). Google sign-ins also get free credits, plus more each day, for premium models.
Does my sketch need to be good?
- No. Stick figures, boxes and wobbly lines work. What matters is that the main shapes are clear and the prompt says what each shape is.
Can I upload a tablet or digital sketch?
- Yes. Export it as JPG, PNG or WebP and upload it like a photo. Clean digital lines are usually followed more closely than a phone photo of paper.
Will the result follow my lines exactly?
- Closely, when you ask for it: write “follow my lines and proportions exactly”. Very rough or crossed-out lines leave room for the model to guess, so darken the final outline first.
Can I turn a sketch of a person into a realistic photo?
- Yes, for adults and made-up characters. Describe age, clothes and setting. Sexual content, anything involving minors and images meant to deceive or harass a real person are blocked.
Can I use the images for client work?
- Yes. Downloads are full size with no watermark and may be used commercially. For product and interior work, pick 2K or 4K so details hold up in a presentation.